Build a Mini Greenhouse from Old Windows or Doors

Why This Project
Rescue some windows. Grow your own. Repeat.
- Feels like a win every time you peek inside
- Rescues windows from the landfill
- Gives your plants a cozy home
- Looks gorgeous and costs almost nothing
- Doesn’t need a permit, plan, or big yard
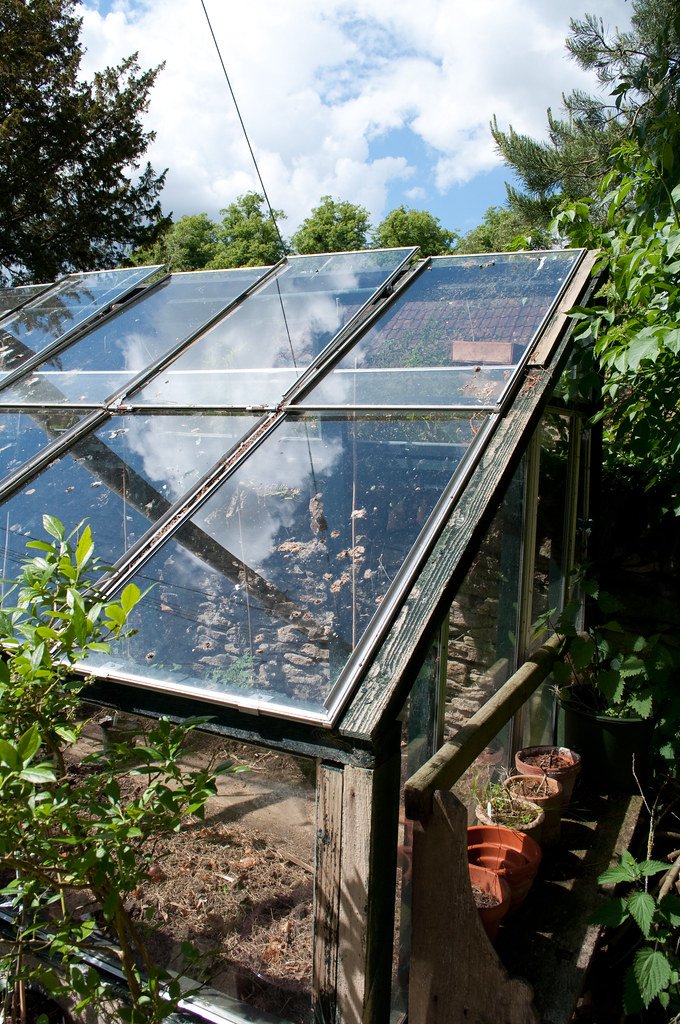
So you found a stack of old windows at a yard sale, in someone’s barn, or—let’s be honest—on the side of the road. Great! That’s not trash. That’s a microclimate waiting to happen.
Old windows make brilliant mini greenhouses. They’re cheap (or free), loaded with character, and keep materials out of the landfill. Whether you want to jumpstart spring, overwinter herbs, or finally grow tomatoes that don’t sulk in a foggy Atlantic summer—this one’s for you.
What You’ll Be Building
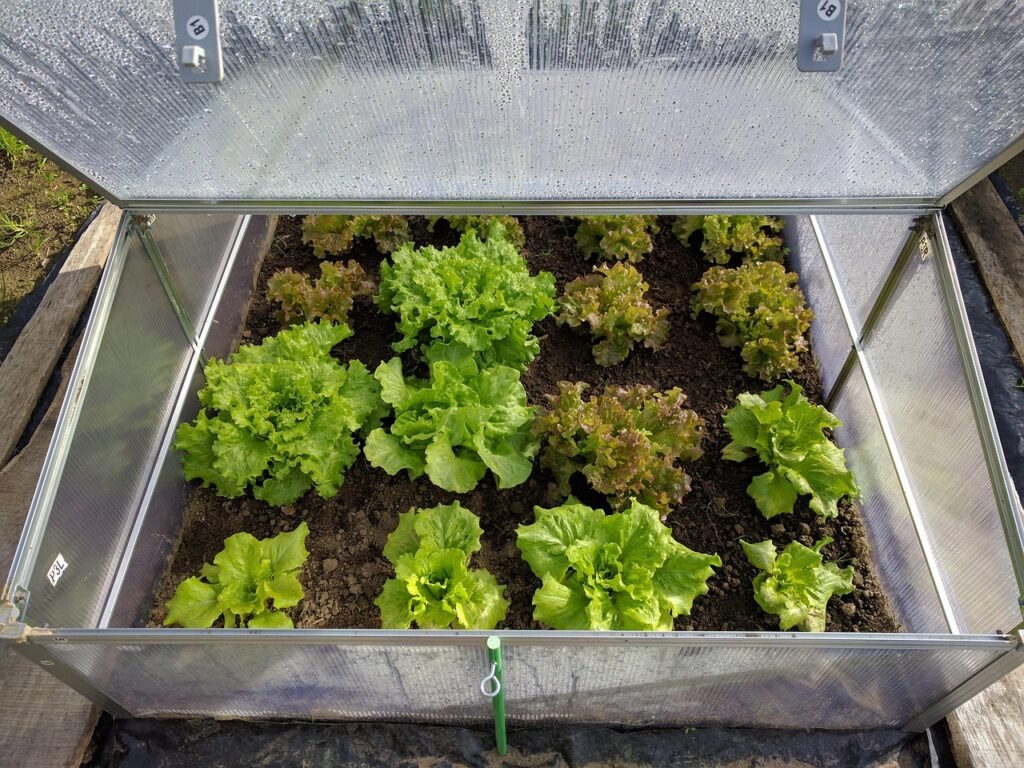
A small, freestanding cold frame-style greenhouse using 4–6 reclaimed windows as walls and a top. A hinged roof is optional but helpful. Ideal size: about 3–4 feet wide and 2–3 feet tall. Small enough to move, big enough to matter.
Think of it like a plant bunkhouse—just enough to keep the chill out and the sun in.
Materials
- 4–6 old wood-framed windows (similar size)
- Wood scraps for base and framing
- Hinges (for roof window if you want it to open)
- Screws or nails
- Drill or screwdriver
- Wood glue (optional)
- Weather stripping or caulk (optional, for sealing gaps)
- Handles (optional, for lifting roof)
Tools:
Saw, drill, measuring tape, square, clamps, safety glasses, and maybe a cold drink.
Basic Steps
1. Match Up Your Windows
Line up what you’ve got. Match similar sizes together for the long and short sides. It doesn’t have to be perfect—but get close enough that they can sit upright without major gaps.
Pro tip: If you’re one window short, fill that side in with reclaimed wood, polycarbonate, or even plexiglass.
2. Build a Base
Use 2x4s, an old pallet, or salvaged boards to create a sturdy rectangular base. Screw it together square and level.
If your greenhouse is going straight onto soil or gravel, no floor is needed. For patios, consider adding slats or mesh to create a slight lift.

Framing the Walls (for Larger Builds)
If you’re going bigger than a simple cold frame, or your windows aren’t quite strong enough to stand alone, it’s worth framing out the walls first.
That means building a wooden frame and attaching the windows to it, rather than trying to screw old window frames directly to one another.
You’ll Need:
- 2×2 or 2×4 lumber (depending on how large or tall your greenhouse will be)
- A square and level
- Screws and a drill
Step-by-Step:
1. Measure & Plan Each Wall
Decide how many windows will go on each wall. Lay them out and measure around them and/or sketch a layout if it helps. Measure the combined height and width, allowing for small gaps or trim.
2. Build Wall Frames
Using your measurements, cut your lumber to size. Make rectangular frames for each wall, just like you’d frame a wall in a shed or garden box. Use a square and screws to keep things sturdy.
3. Add Cross Supports (if needed)
If the wall is tall or wide, add a horizontal brace across the middle to screw windows into. This helps prevent sagging.
4. Anchor Frames to the Base
Attach each framed wall to the wooden base using screws. Make sure it’s level and square before moving on.
5. Attach the Windows to the Frames
Now, screw the window frames into the wooden wall frames. Pre-drill if the wood is brittle, and reinforce loose panes if needed with glazing points or caulk.
Would you like this section visually diagrammed in a printable format or added to a PDF project plan? I can do that next!
3. Attach the Walls
Screw the windows to each other and to the base. Clamp them in place first to get your angles right. Add vertical scraps in the corners if needed for extra support.
Creative chaos warning: Old wood can split. Pre-drill when in doubt. And remember—it’s a greenhouse, not a piano.
4. Add a Roof
Use one or two windows as a sloped lid. A slanted roof sheds rain and snow better and lets in more sun. Hinges at the back turn it into an easy-access lid for watering or venting.
Safety tip: That glass is heavy. Don’t skip the support brackets or chain to keep it from flipping too far back.
5. Seal (if you want to)
Caulk the big gaps if you’re overwintering plants or going for a longer season. Otherwise, a few drafts won’t hurt. Weather stripping around the lid helps hold in the heat.
Where to Put It
- South-facing if possible
- Out of high wind
- On soil, gravel, or raised bed.
- Near water if you’re forgetful (same)
What You Can Grow
Other than being an excellent place to grow strawberries, so that a certain red squirrel named Red, who my husband feeds peanuts, doesn’t eat them as soon as they get ripe.
In cooler months:
- Lettuce, spinach, kale, chard
- Herbs (parsley, cilantro, mint)
- Carrots, radishes, green onions
In shoulder seasons:
- Seedlings galore
- Tomatoes and peppers that need a head start
- Squash and cukes in pots
It’s not just a box—it’s an extension of your growing season.
